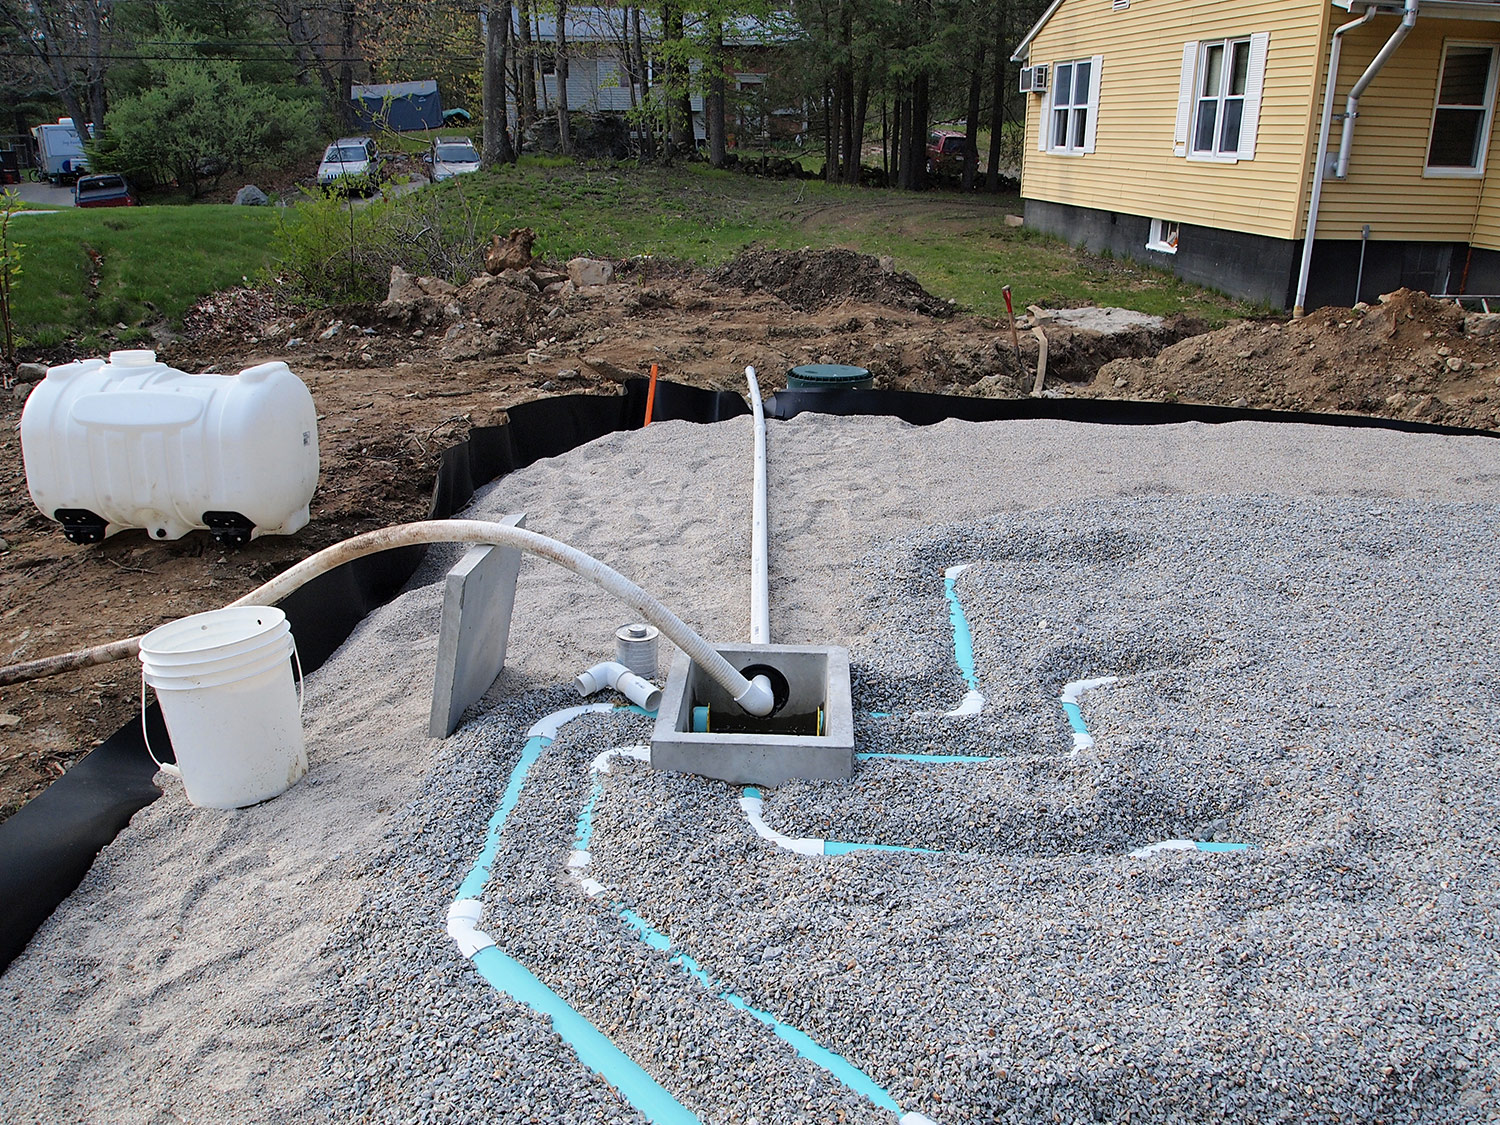
Since each septic system is installed a little differently, it would be difficult for us to give you an exact how-to on installing each one. That said, the overall process for septic system installation has some similarities.
1. Site Prep
First, you evaluate the site’s size, soil type, water table, etc. so you can decide which type septic system will work best for you. This may require a PERC test to evaluate soil absorption rates. Contact your county health department to find out more information regarding testing requirements in your area.
2. Health Approval
Most states have specific guidelines in place for septic system installation, as sewage naturally could have a large impact on public health and safety. You will need to receive the necessary permits and licenses to continue with the procedure.
3. Excavation
Once you have received the go-ahead from the correct authorities, you may begin excavating the site for system installation. Excavation involves a lot of measuring and drilling so that you can get the pipe to distance ratio correct. You will need to dig a hole large enough to fit the tank into comfortably.
4. Installation
It is important that you refrain from going into the installation blindly. That is, don’t just begin haphazardly digging holes and placing pipes. Call a professional septic system company for advice, or do your research online.
5. Final Inspection
It’s a good idea to have a professional inspect your work once completed. This ensures that everything is up to safety standards and that you won’t run into any unexpected issues.
6. Coverup
Cover everything back up, clean it up, and enjoy your money-saving handiwork!
For more information, contact Morse Engineering and Construction.
Source: nextmodular.com
